Request the new Trayco catalogue in 1 click!

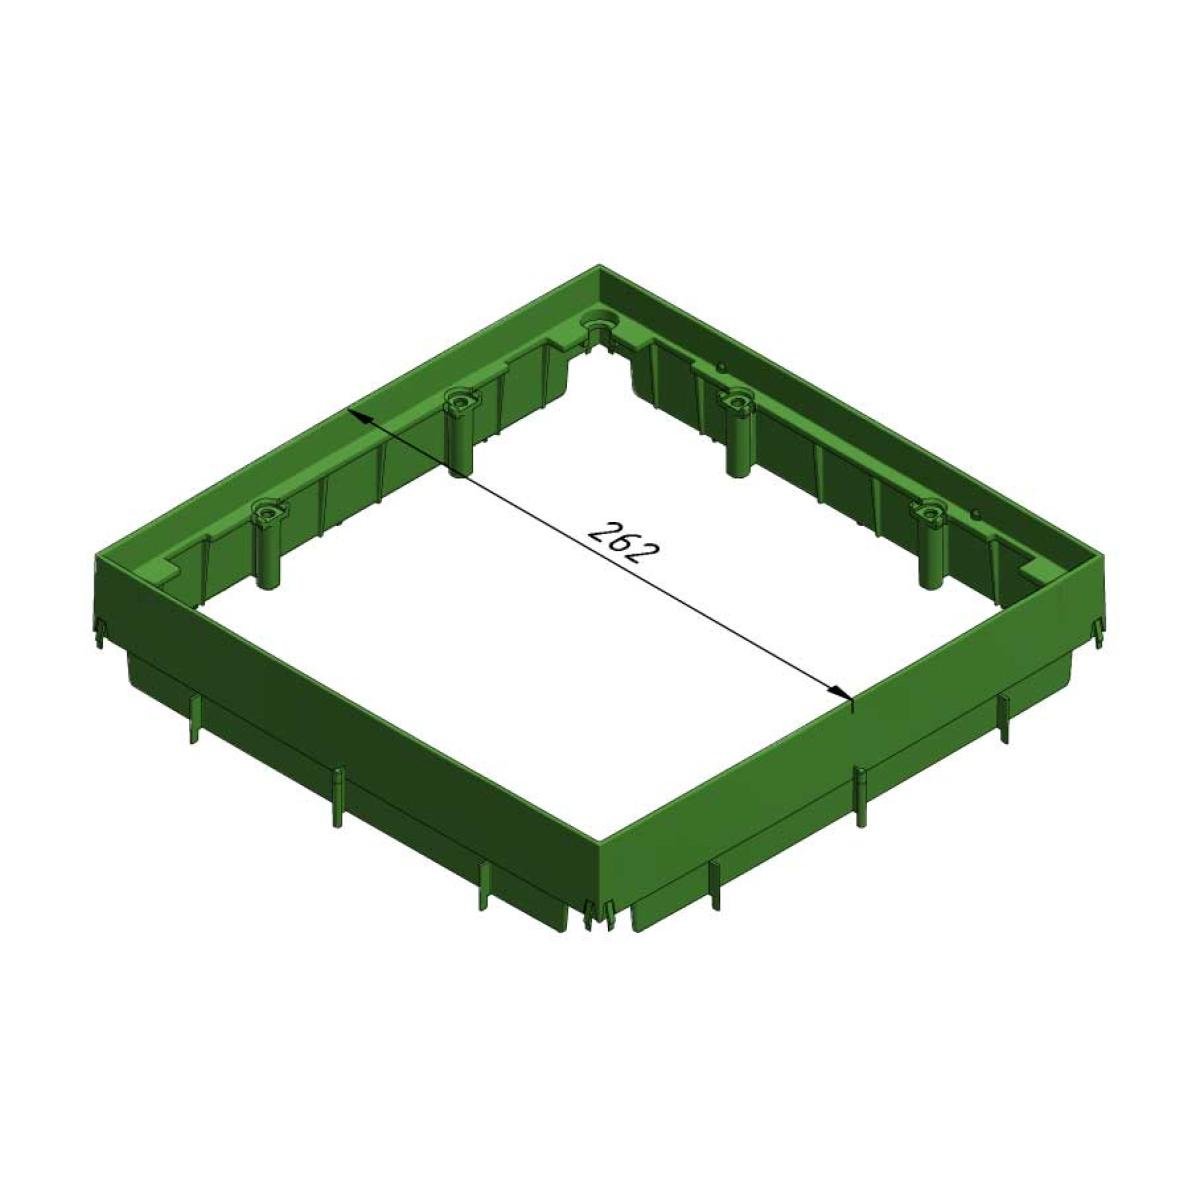
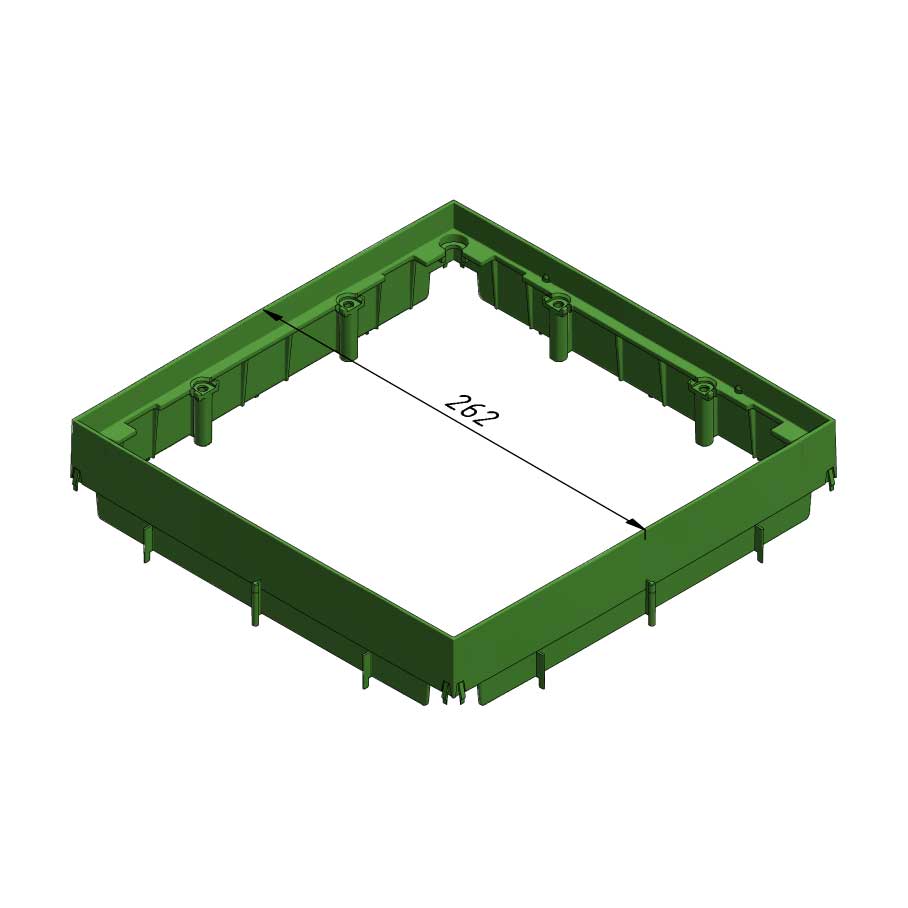
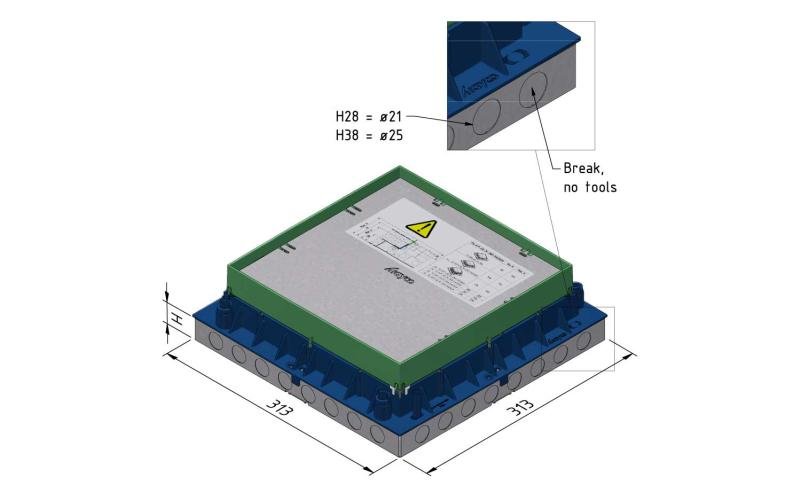
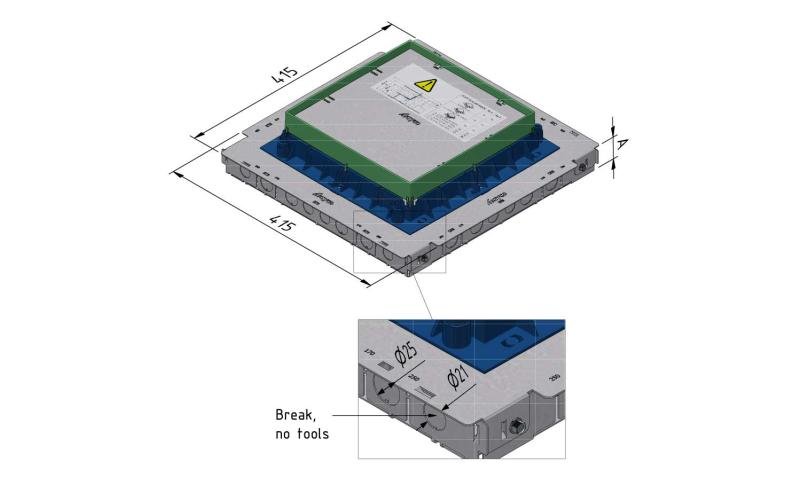
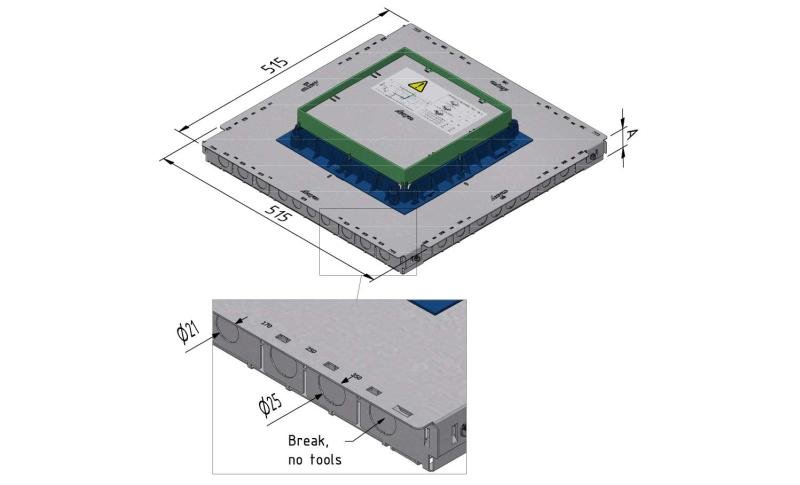
Adjustable frame for floorbox

BOX-ACC-FA-SQ

Material: PA6 reinforced fibre glass, flame retardant
Colour: RAL6018 (green)

SKU Article code Finishing Packaging
15644
FS-FA-SQ-34-260-PAG6018
PAG6018
1
Default
EAN
5415129054813

Assembly

Workload

Norm
Volgens EN50085
Safe workload
-
Max. torque
-

Additional information

Product features
Material: PA6 reinforced fibre glass, flame retardant
Colour: RAL6018 (green)

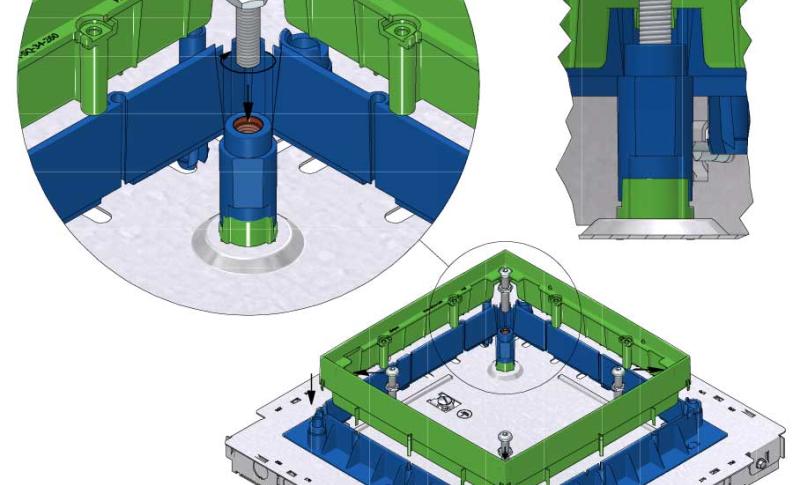
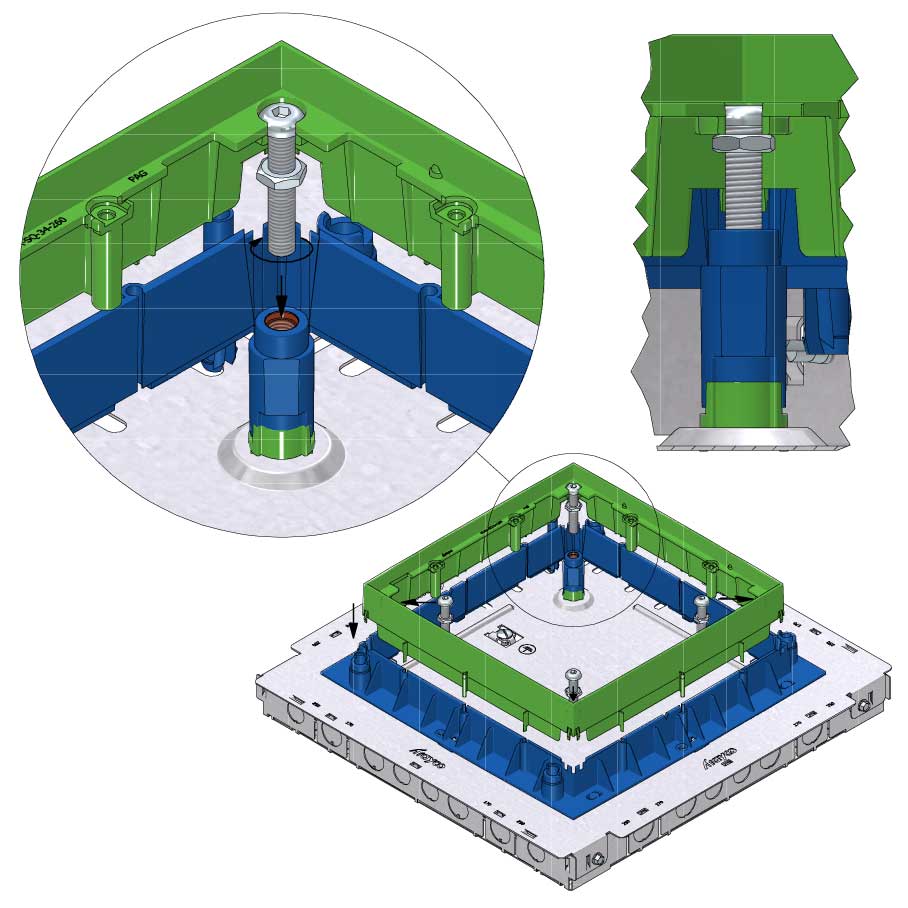
Replacing a damaged adjustment frame.
Method:
- Unscrew the bolts on the 4 corners from the blue fixed frame while holding the nuts under the green adjustment frame in place with a SW13 wrench.
- Slide the green adjustment frame out of the blue fixed frame.
- Place the 4 screws (with mounted nut) on the 4 corners of the new green adjustment frame.
- Slide the new green adjustment frame into the blue solid frame.
- Screw the bolts on the 4 corners into the blue frame and level the green adjustment frame until the top is even with the screed.
- Secure by turning the nuts on the 4 corners up until they fit firmly against the bottom of the green adjustment frame.
Equipotential connection
-
EC declaration of conformity
We declare that our products are in conformity with:
- the rules of the essential requirements of the EC directive: 2014/35/EU (low voltage)
- the applicable national standards and technical specifications: CEI IEC 61537

Technical documentation is available at the manufacturer location.

(On condition that the products are used in the manner intended and/or in accordance with the current installation standards and/or with the recommendations of the manufacturer.)
Replacing a damaged adjustment frame. Method: - Unscrew the bolts on the 4 corners from the blue fixed frame while holding the nuts under the green adjustment frame in place with a SW13 wrench. - Slide the green adjustment frame out of the blue fixed frame. - Place the 4 screws (with mounted nut) on the 4 corners of the new green adjustment frame. - Slide the new green adjustment frame into the blue solid frame. - Screw the bolts on the 4 corners into the blue frame and level the green adjustment frame until the top is even with the screed. - Secure by turning the nuts on the 4 corners up until they fit firmly against the bottom of the green adjustment frame.

Assembly